Part One: Springs
I’ve been traveling with my 2006 Fun Mover since 2015 and apart from oil changes and two sets of tires, I haven’t had to do much work on the chassis side of things. The house side is another story… there is always something that needs fixing.
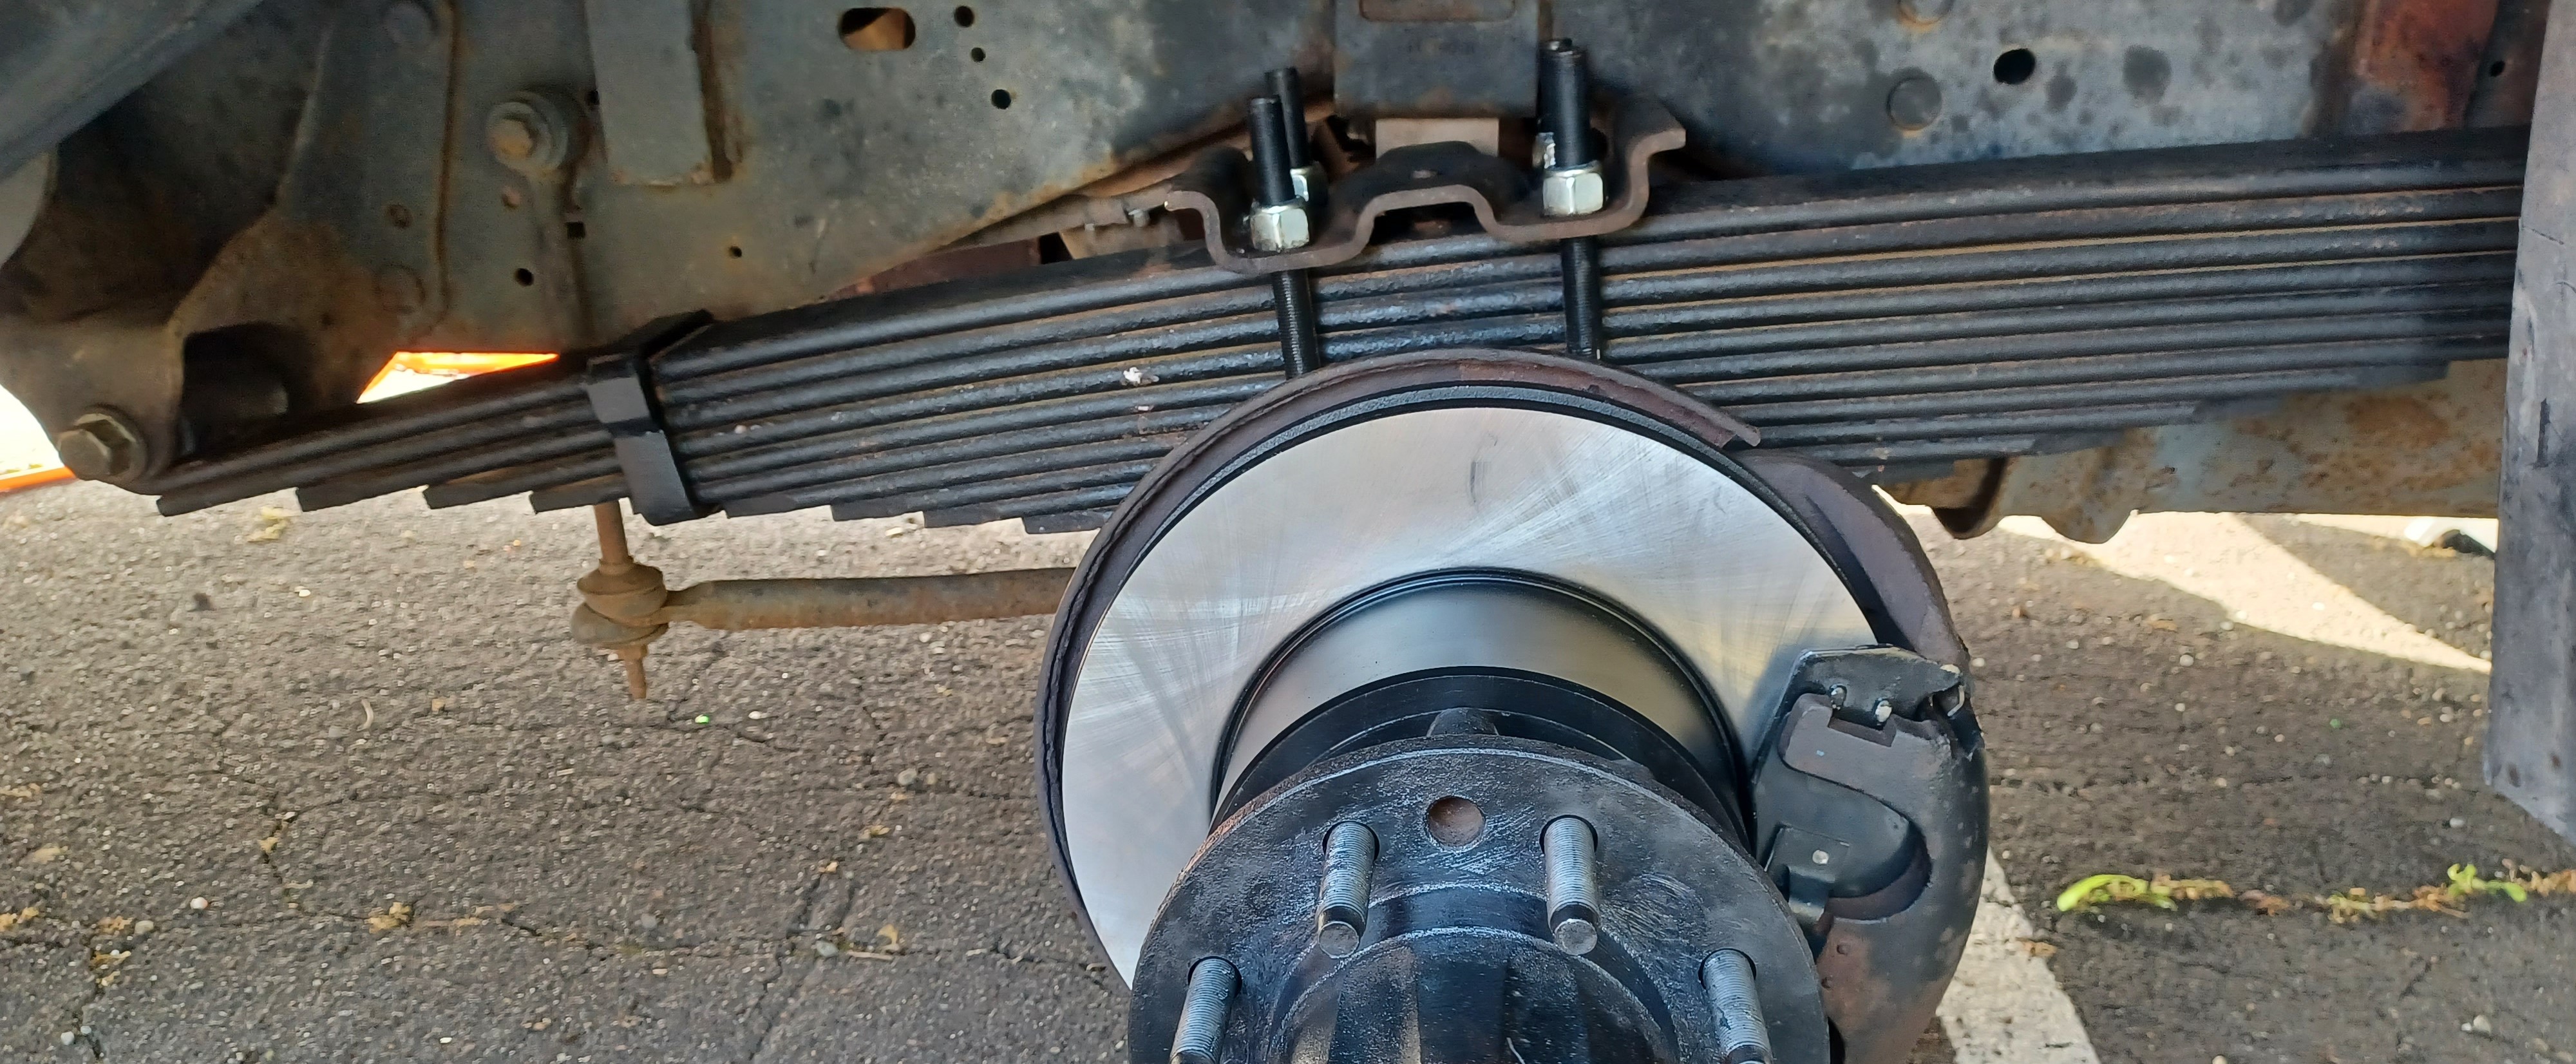
When I bought the rig in 2015, it had about 45,000 miles on it and had just had all new brakes installed. Now approaching 85,000 miles, it was about time to do it again. I also had two other issues that I’d been successfully ignoring for a long time… the rear leaf spring packs had a problem and the driveshafts were extremely rusted.

Leaf springs have a pair of clamps that hold the stack of leaves parallel and both of my springs had broken clamps, which allowed the leaves to shift sideways. The main leaf was still pointed straight, so the tracking of the axle was unaffected, but the shifted leaves were rubbing on the frame.
I had previously tried to fix this by loosening the U-bolts that hold the spring to the axle so that I could realign the the leaves, but the rusty bolts were seized and I was afraid that I’d break them off. I finally decided this year that I had to tackle the job, and ordered the parts needed, which is a pretty short list:
- 4 new U-bolts from Skyjacker Suspension. These are 5/8″ thread for a 4″ axle tube and 12″ long.
- New spring bushings and shackles

I have a 7 gallon air tank on board that is filled by a continuous-duty Viair compressor, and it is enough to use my air impact gun to get the nuts off one wheel before the tank loses pressure. Even with full pressure, the nuts on the U-bolts wouldn’t budge. My 3 foot long breaker bar would just move them, one loud creak as they turned a half flat with the 12 point socket. Eventually they moved freely enough to turn with a shorter ratchet and a cheater tube extension, but not freely enough to just spin them off with the impact gun.
After the first one, I rummaged around for a 5/8″-18 die to spin down the threads to free up the rusty portion above the nut, which sped things up considerably. It turns out that Ford chose the same thread for the U-bolts as Austin Healey used for Sprite tie rod ends, which is how I came to have that thread die in my box.
With the chassis resting on big, heavy duty stands, the axle was sitting on a pair of smaller stands as I removed the U-bolts. Then the axle was lowered until it came away from the springs.
As you might imagine, these springs are really heavy, too heavy to easily maneuver in and out of the chassis single-handed. I wasted a lot of time with a long pry bar trying to shift them to a position where the pivot bolts were free, the key being to make sure the frame is raised high enough on the stands to allow the axle to droop far enough below the spring.

Once inside on the steel fab table, I was able to use my BFG hammer to pound the leaves back to parallel, and fabricate new clamps from 1/4″ steel strap. Since the original clamps had failed, I went overboard making sure that my replacements were heavy-duty. I butt-welded the new clamps to the remaining portion that is riveted to the spring leaf, then welded a strap across the butt weld.


Changing the spring bushings was harder than I anticipated and I needed the big hydraulic shop press to get them out and in. The rear bushing has a steel outer housing that was rusted solid to the spring and had to be chiseled out with my air hammer. The front bushing has no outer sleeve, just rubber, but it also had to be pressed out. I had bought the wrong bushings for the front and rather than wait a few days to get them, I decided to make a couple from Delrin, using the existing inner sleeve. We had some 1.5″ diameter stock, which happened to be the OD needed, so I only had to bore a hole to suit the sleeve and part them off to length. It will be interesting to see how long they live, given that the stock rubber ones were almost entirely squeezed out.


A good wire brushing to knock off the rust and a squirt of black paint and the springs were ready to go back in. It was a challenge figuring out how to maneuver them single handed with only a jack on crummy pavement (making it very difficult to smoothly roll the jack). I had help with the second one and it took less than half the time compared to doing it solo.

The brakes were the next task on the list, and it ended up being perfectly timed. The pads were worn nearly to the minimum but not past the point where they’d become dangerous. I had decided to replace the rotors with the pads so that I would be starting with all fresh brakes, though I did not get new calipers. I’ll cover that in the next post… (Sorry, I never got back to finish this!)
Leave a Reply